Table of contents
- Namespace
- Services
- Task 1:
- Create a Namespace for your Deployment:
- Use the command kubectl create namespace <namespace-name> to create a Namespace:
- Update the deployment.yml file to include the Namespace:
- View the updated deployment file:
- Apply the updated deployment using the command: kubectl apply -f <deployment-file-name> -n <namespace-name>:
- Verify that the Namespace has been created by checking the status of the Namespaces in your cluster: kubectl get namespace:
- Verify that the Namespace has been created by checking the status of the Namespaces in your cluster:
- Task 2:
- Write about Services, Load Balancing, and Networking in Kubernetes:
Namespace
A namespace is a way to logically divide cluster resources, network policies, RBAC and everything among multiple users, teams, or projects. This helps in organizing and isolating resources, policies, and permissions. For example, there are two projects using same Kubernetes cluster. One project can use ns1 and other project can use ns2 without any overlap and authentication problems.
Services
Service is an abstract way to expose an application running on a set of Pods as a network service. It enables other Pods within the cluster or external users to access the application. It targets a set of Pods using label selectors. The Service acts as a stable endpoint for accessing the application, abstracting away the details of individual Pod IPs and providing a consistent way to reach the application regardless of Pod changes or scaling. There are three types of services - ClusterIP, NodePort and LoadBalancer.
Task 1:
Create a Namespace for your Deployment:
Use the command
kubectl create namespace <namespace-name>to create a Namespace:
kubectl create namespace todo-app

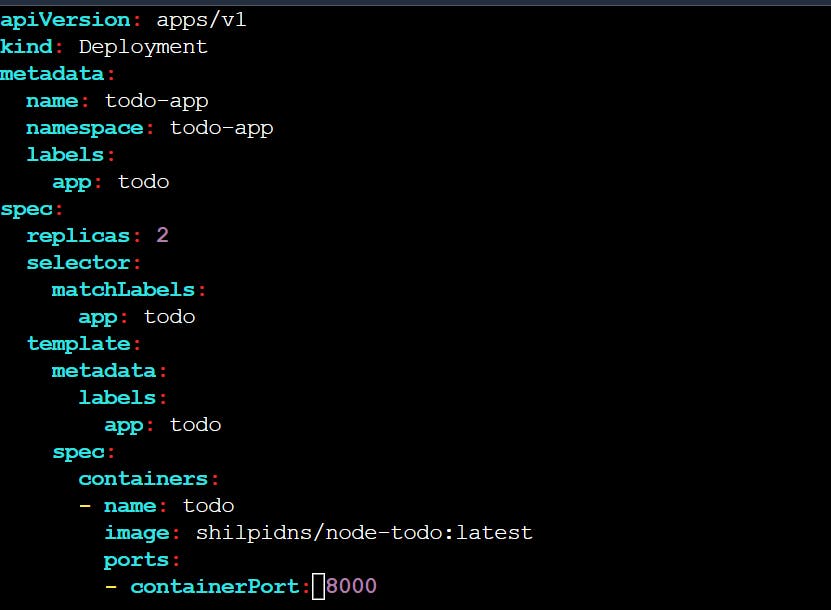
Update the deployment.yml file to include the Namespace:
Let's update the deployment.yml file created in Day 32 by adding the namespace field inside metadata.
apiVersion: apps/v1
kind: Deployment
metadata:
  name: todo-app
  namespace: todo-app
  labels:
    app: todo
spec:
  replicas: 2
  selector:
    matchLabels:
      app: todo
  template:
    metadata:
      labels:
        app: todo
    spec:
      containers:
      - name: todo
        image: shilpidns/node-todo:latest
        ports:
        - containerPort: 8000
View the updated deployment file:

Apply the updated deployment using the command:
kubectl apply -f <deployment-file-name> -n <namespace-name>:
kubectl apply -f deployment.yml -n todo-app

Verify that the Namespace has been created by checking the status of the Namespaces in your cluster:
kubectl get namespace:
kubectl get namespace

We can see todo-app namespace is created and can be seen in the above list.
Verify that the Namespace has been created by checking the status of the Namespaces in your cluster:
kubectl get pods -n todo-app

Task 2:
Write about Services, Load Balancing, and Networking in Kubernetes:
Services
A Service is an abstract way to expose an application running on a set of Pods as a network service. It enables other Pods within the cluster or external users to access the application.
Load Balancing
Load balancing in Kubernetes Services ensures that incoming traffic is evenly distributed among the Pods that make up the Service. This distribution is done using algorithms like round-robin, ensuring efficient resource utilization and high availability. Kubernetes monitors the health of Pods and adjusts the load balancer's routing dynamically. Session affinity and external load balancer integration further enhance traffic distribution and accessibility.
Networking
Kubernetes Services provide a stable endpoint for accessing a set of Pods that perform the same function. Services abstract away the individual Pod IP addresses, allowing clients to access the application without needing to know the specific Pod's IP. Service networking involves routing traffic to the appropriate Pods based on label selectors and load balancing incoming requests.
Thanks for reading!
Happy Learning!
