

Deployment
A Deployment in Kubernetes is a YAML or manifest file that defines the desired state for a set of Pods. It manages the lifecycle of the Pods by creating and updating ReplicaSets. ReplicaSets ensure that a specified number of replica Pods are running at any given time. They maintain the desired number of replicas as specified by the Deployment. Deployments and ReplicaSets focuses on managing the deployment and scaling of application Pods based on the desired state. When a Deployment is updated or replaced, Kubernetes handles the transition smoothly by adopting resources from the old Deployment to the new one, ensuring a seamless transition without downtime.
Use Case
The following are typical use cases for Deployments:
Create a Deployment to rollout a ReplicaSet.
Declare the new state of the Pods by updating the PodTemplateSpec of the Deployment.
Rollback to an earlier Deployment revision if the current state of the Deployment is not stable.
Scale up the Deployment to facilitate more load.
Pause the rollout of a Deployment to apply multiple fixes to its PodTemplateSpec and then resume it to start a new rollout.
Use the status of the Deployment as an indicator that a rollout has stuck.
Clean up older ReplicaSets that you don't need anymore.
Task-1:
Create one Deployment file to deploy a sample todo-app on K8s using "Auto-healing" and "Auto-Scaling" feature.
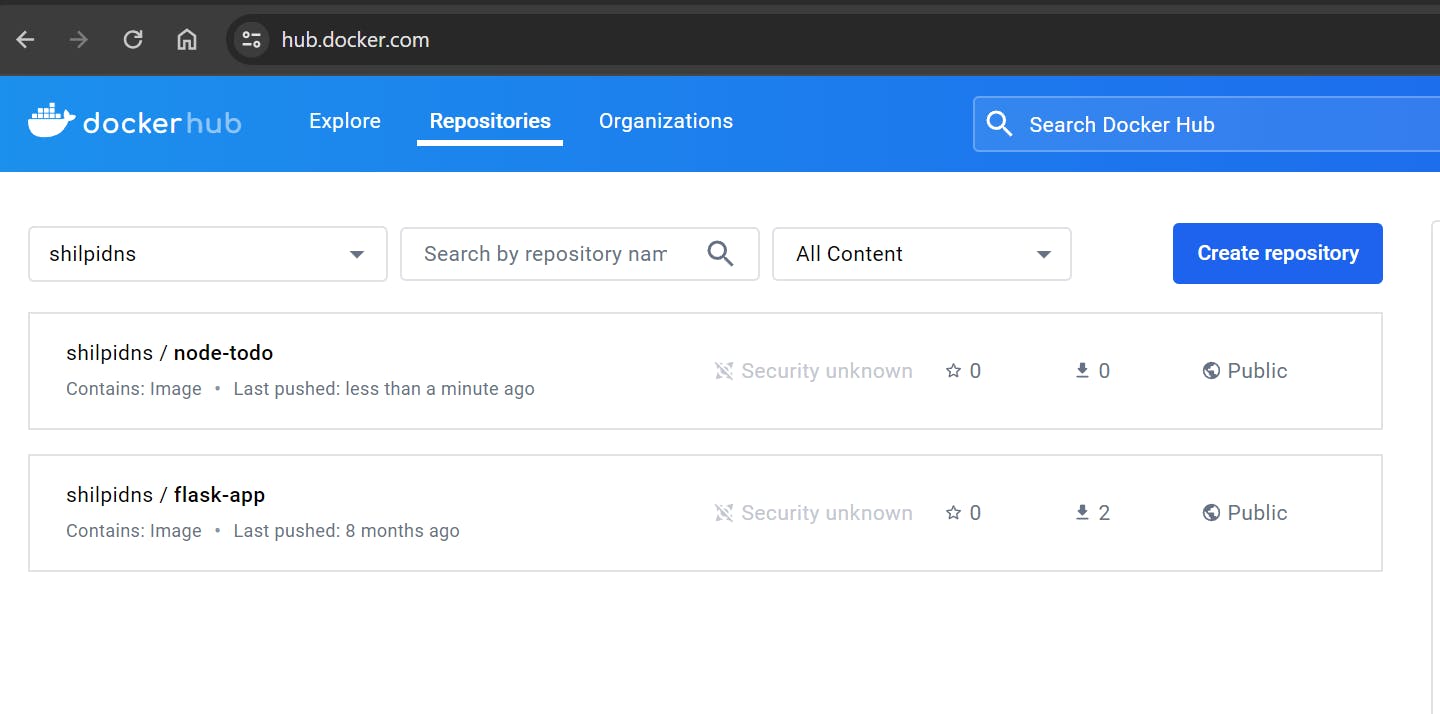
Before we start writing the deployment.yml file, we need to have image in our DockerHub account for which we want to take a pull and create the container. Hence, first login to DockerHub account and push the image. To learn about the steps to push the docker image to DockerHub, kindly go through Day-17 of 90DaysOfChallenge. We can see below, the docker image node-todo has been pushed to DockerHub.
add a deployment.yml file (sample is kept in the folder for your reference).
Now we can start writing the deployment.yml file as we have our image from where it would take a pull. Let's write the below code in deployment.yml file -
apiVersion: apps/v1
kind: Deployment
metadata:
  name: todo-app
  labels:
    app: todo
spec:
  replicas: 2
  selector:
    matchLabels:
      app: todo
  template:
    metadata:
      labels:
        app: todo
    spec:
      containers:
      - name: todo
        image: shilpidns/node-todo:latest
        ports:
        - containerPort: 8000
The above example creates a ReplicaSet to bring up two node-todo Pods: In this example:
A Deployment named
todo-appis created, indicated by the.metadata.namefield. This name will become the basis for the ReplicaSets and Pods which are created later.The Deployment creates a ReplicaSet that creates three replicated Pods, indicated by the
.spec.replicasfield.The
.spec.selectorfield defines how the created ReplicaSet finds which Pods to manage.The
templatefield contains the following sub-fields:The Pods are labeled
app: todousing the.metadata.labelsfield.The Pod template's specification, or
.template.specfield, indicates that the Pods run one container,todo, which runs theshilpidns/node-todo:latestDocker Hub image.Create one container and name it
todousing the.spec.template.spec.containers[0].namefield.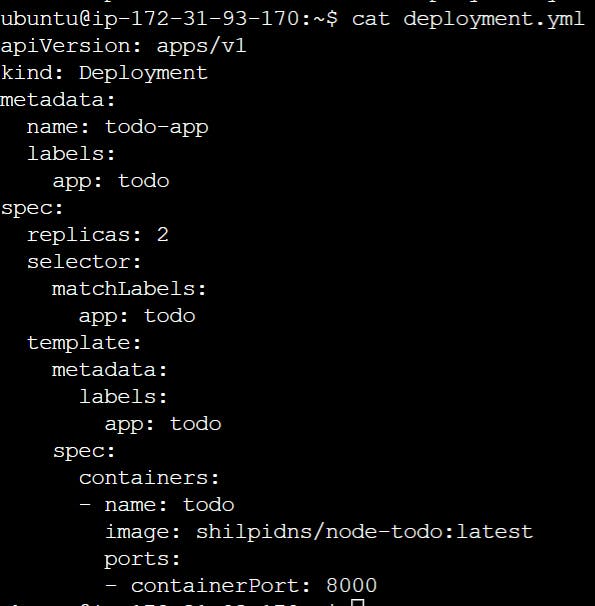
apply the deployment to your k8s (minikube) cluster by command
kubectl apply -f deployment.ymlCreate the Deployment by running the following command -
kubectl apply -f deployment.yml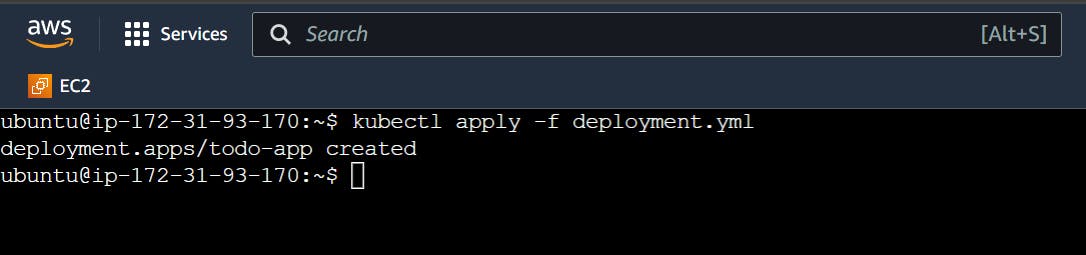
Run the below command to check if deployment was created -
kubectl get deployments
Run the below command to see the ReplicaSet (
rs) created by the Deploymentkubectl get rs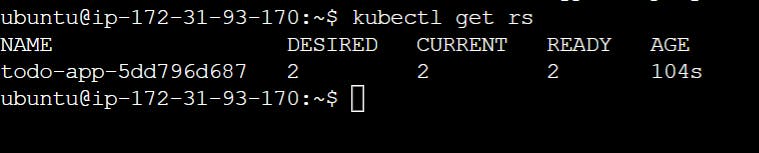
Run the below command to see the labels automatically generated for each Pod,
kubectl get pods --show-labels
Updating a deployment - We can update the deployment from one command line. Let's update the replica set from 2 to 1. This can be done from the command:
kubectl scale deployment todo-app --replicas=3and run thekubectl get pods -o widecommand to see the Deployment status.

Autohealing - To validate the functionality of the auto-healing feature, remove one of the pods. Kubernetes will autonomously generate a new pod to substitute the removed instance
kubectl delete pod <pod_name>
We can see even after deleting one pod, when we do
kubectl get pods -o wide, we can see 3 pods are still running which means as soon as one pod gets deleted, a new one gets created.Verify whether the docker container is working using
docker pscommand but before that you need to login to minikube VM usingminikube sshas below:minikube ssh docker ps sudo docker exec -it <docker-container> bash #Get into the docker container curl -L http://10.244.0.4:8000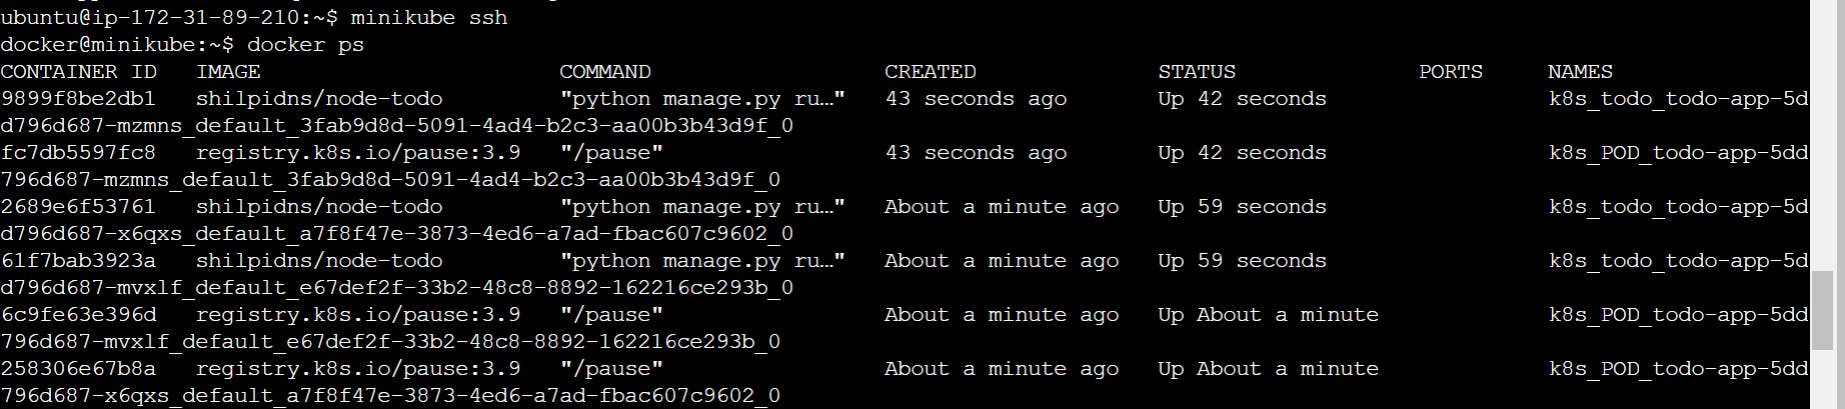
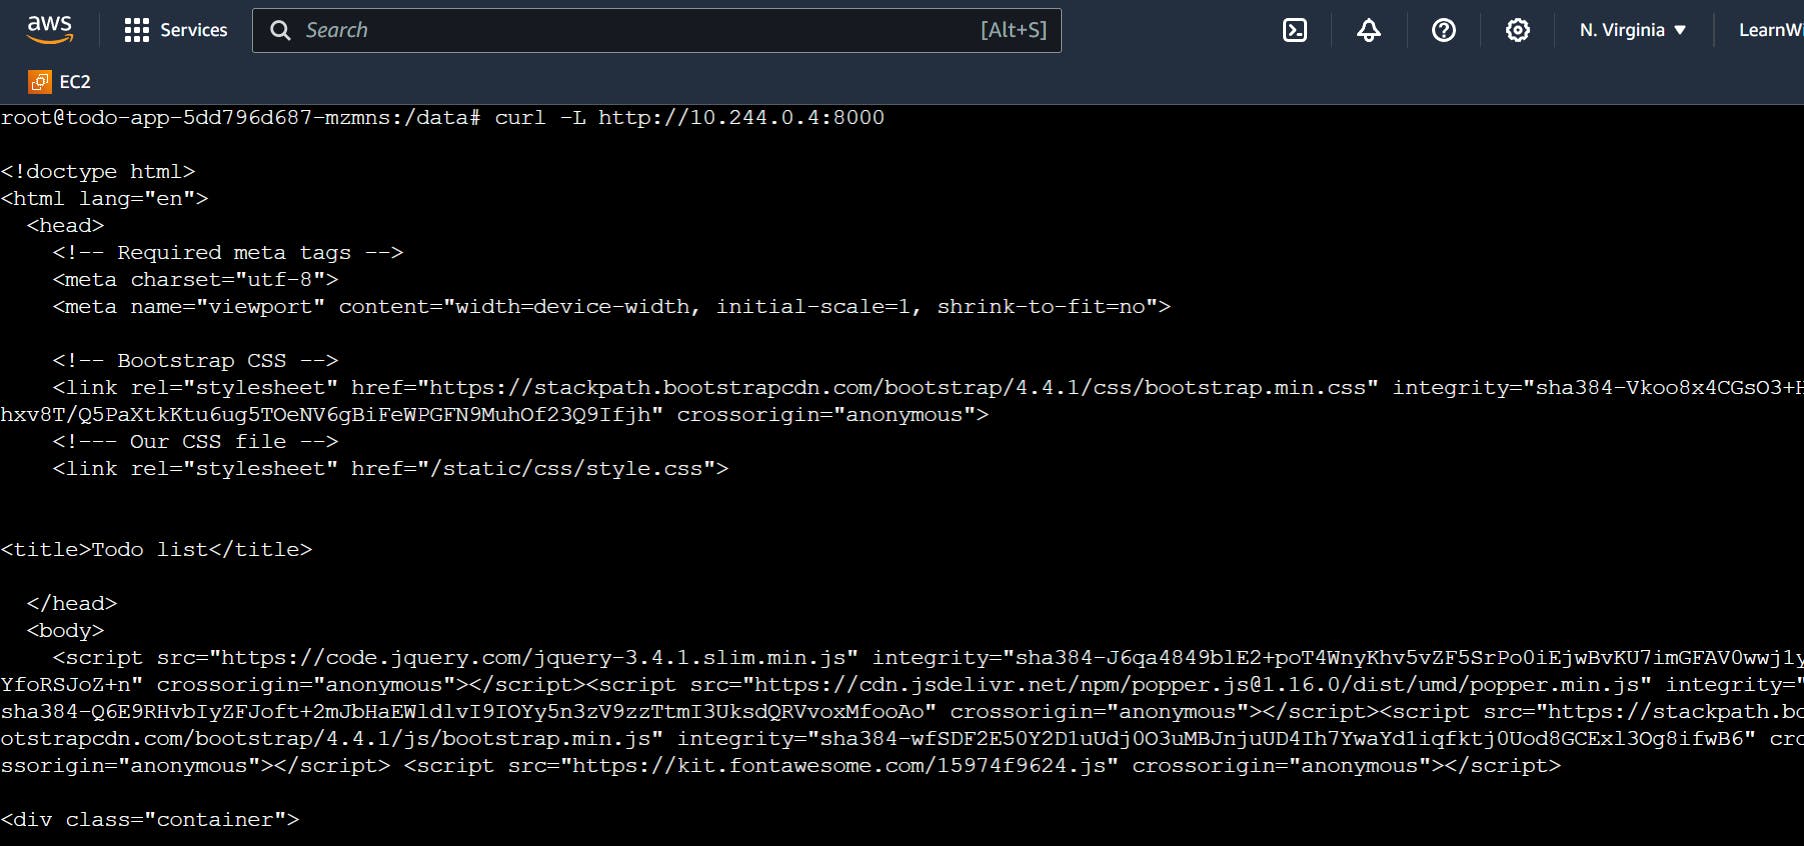
Pick the IP address of the running container and add the container exposed port in the end to go inside the running container.
Delete the deployment( entire Deployment and its associated pods,) using the command:
kubectl delete -f deployment.yml
Hurray! We have successfully created a Kubernetes Deployment for a sample todo-app with "auto-healing" and "auto-scaling" features.
Thanks for reading!
Happy Learning!