

Table of contents
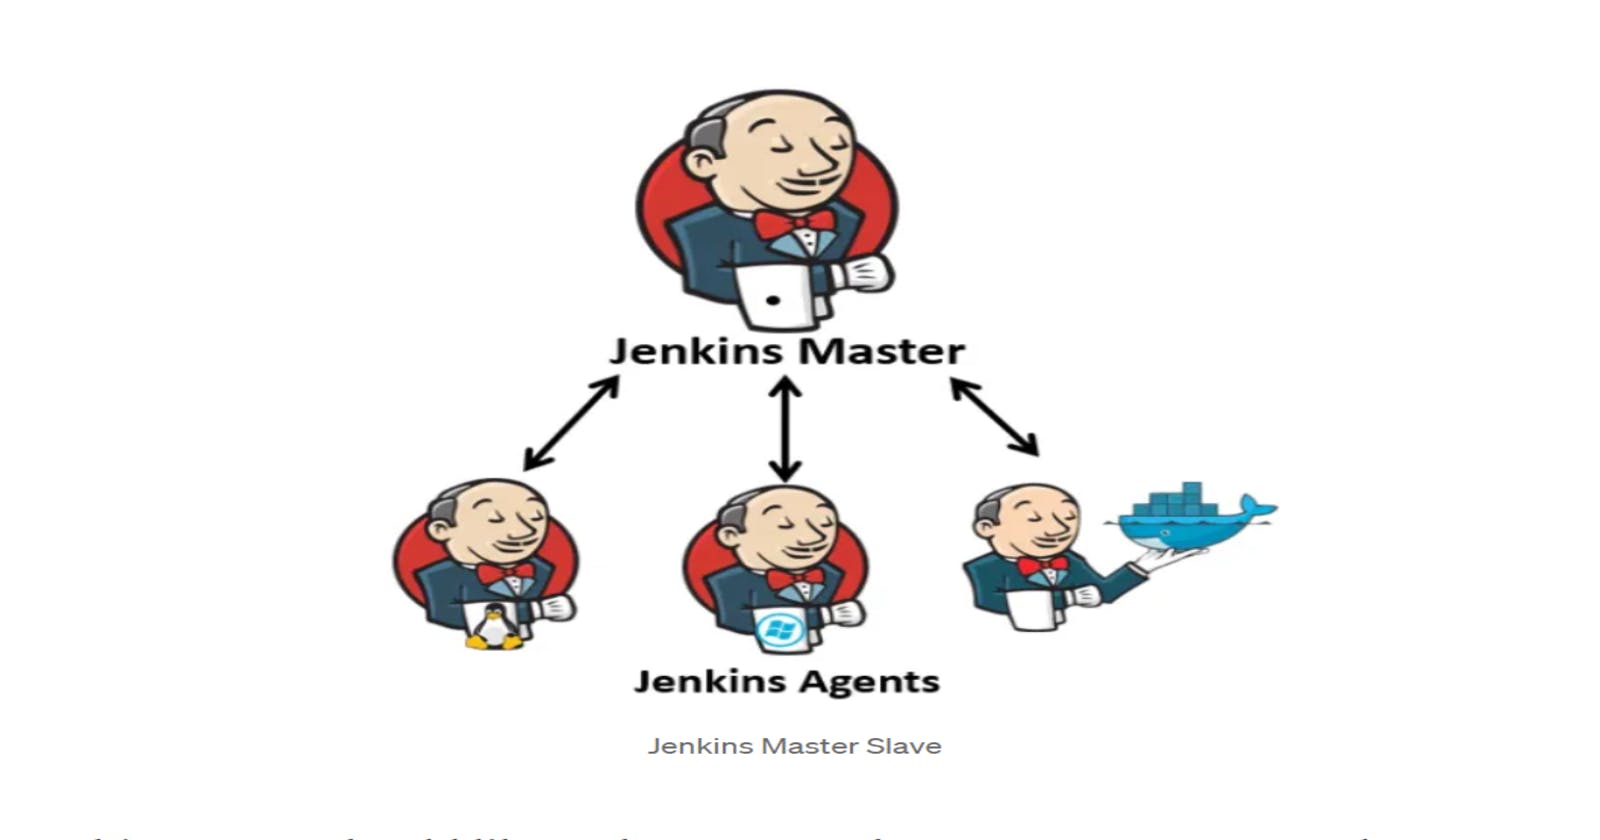
Jenkins uses a Master-Slave architecture to manage distributed builds. The machine where Jenkins software is installed is Jenkins master that runs on port 8080. Then there's another server called Slave/Agent which executes the task provided by Master. The agent understands Java language, hence, it requires JVM. There can be n numbers of agents and we can configure the agent server from Jenkins master by assigning the agent to the task.
Jenkins Master:
Jenkins master is the main server which contains all the configuration. It is like a control server that schedules the jobs, assign slaves, and send builds to slaves to execute the jobs. It also monitors the slave state (offline or online) and get back the build result responses from slaves and the displays build results on the console output.
Jenkins Slave:
An agent is typically a machine or container that connects to a Jenkins master and executes all the steps mentioned in a Job. When we create a Jenkins job, we have to assign an agent to it. Every agent has a label as a unique identifier.
Pre-requisites for Agent
Java ( same version as Jenkins master server)
docker
docker-compose
Task-01
Create an agent by setting up a node on Jenkins.
Let's launch our EC2 instance where we will be doing all our configuration.
Go to Manage Jenkins from Dashboard

Click on Nodes from Manage Jenkins Page.

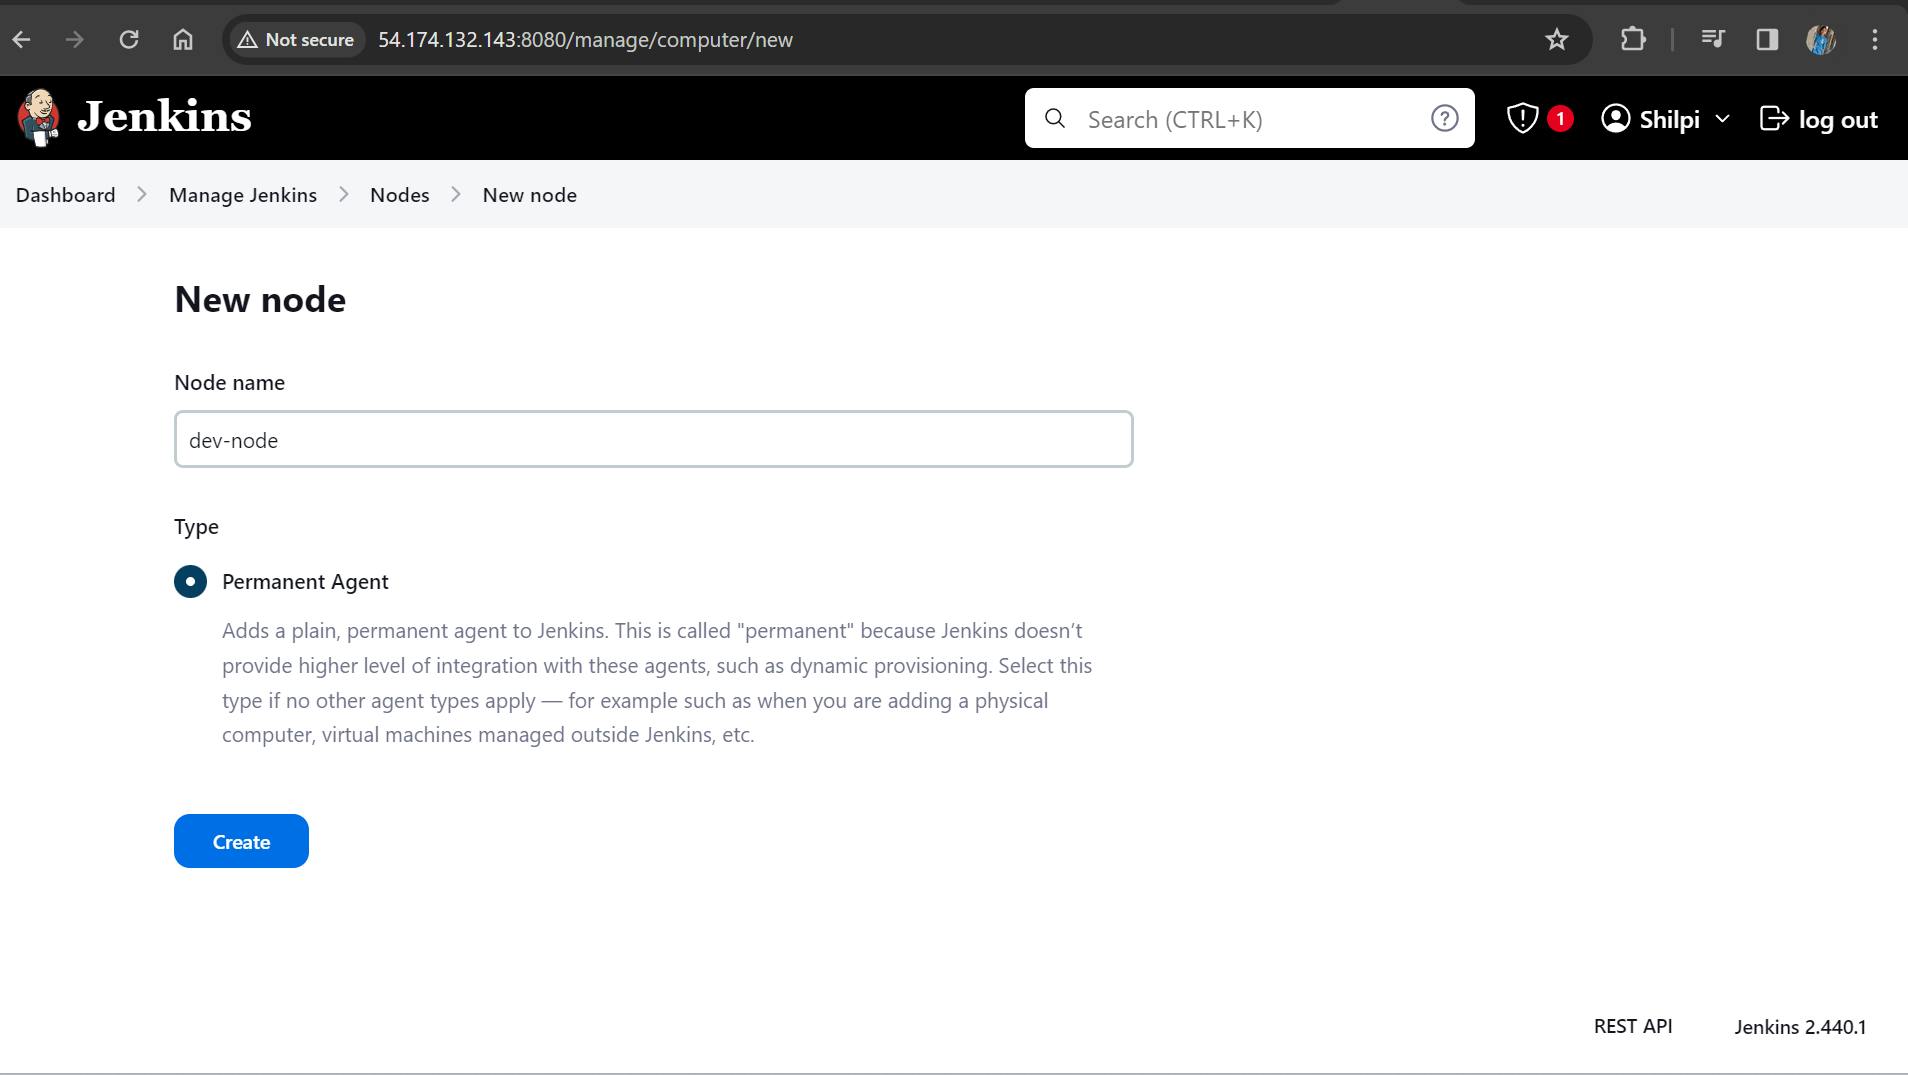
Click on New Node button.

The below page opens up. Enter the node name, select permanent and click on Create.
Provide the details such as description, number of executors, path of remote root directory, labels, etc and save the configuration.

Create a new AWS EC2 Instance and connect it to master(Where Jenkins is installed)
Let's create a new EC2 instance name jenkins-slave as below.

The connection of master and agent requires SSH and the public-private key pair exchange.
Create a connection between master and agent via SSH and public private key pair exchange.
- First, generate the public/private key in Master Jenkins inside .ssh folder using
ssh-keygencommand as below-
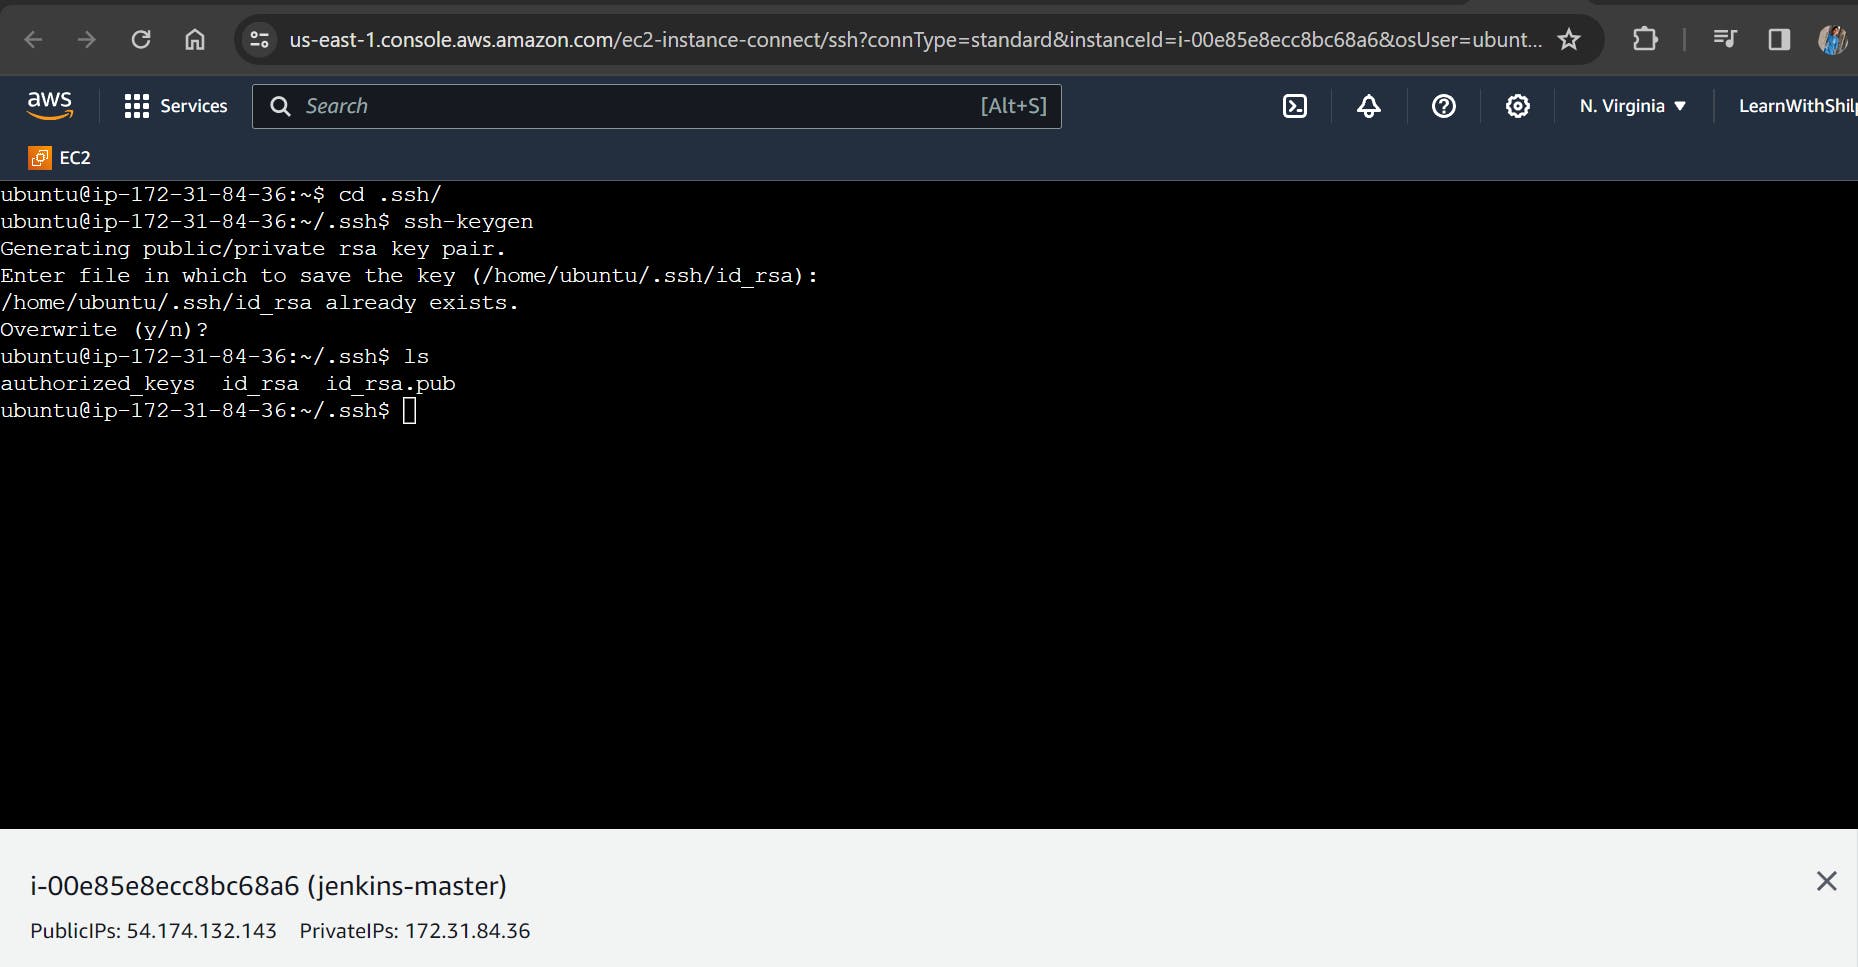
The public and private key are created in id_rsa.pub and id_rsa files respectively.
Copy the public key i.e. id_rsa.pub from master and and private key from i.e. id-rsa and keep it in a clipboard.
Now, launch the jenkins-slave instance and go to .ssh folder and do
lsto view the file. A file withauthorized_keysshould be present.
4. Paste the public key copied in step 2 in authorized keys and save.

Verify its status under "Nodes" section.
Now, a connection has to be made from master to slave via private key of master node.
Configure the credential of master jenkins by storing the private key in master key. Go to Manage Jenkins -> Configure Credentials -> click on global hyperlink and click on Add Credentials button.
The below screen opens up -

Select "SSH Username with private key" from Kind dropdown, enter a unique identifier name in ID field, enter the description and enter the Username of the master Jenkins.

Paste the Private key copied from master Jenkins and click on create.

Master Jenkins credential containing the private key has been stored and created.
Now, go back to the Configuration page of node created in the beginning from the dashboard
Copy and paste the Jenkins Slave IP address in Host name field, select the Jenkins Master credential created above, select "Non verifying Verification Strategy" from Host Key Verification Strategy dropdown, select "Keep this agent online as much as possible" and save.

9. After saving, the node should launch automatically. If not, click on Launch Agent.

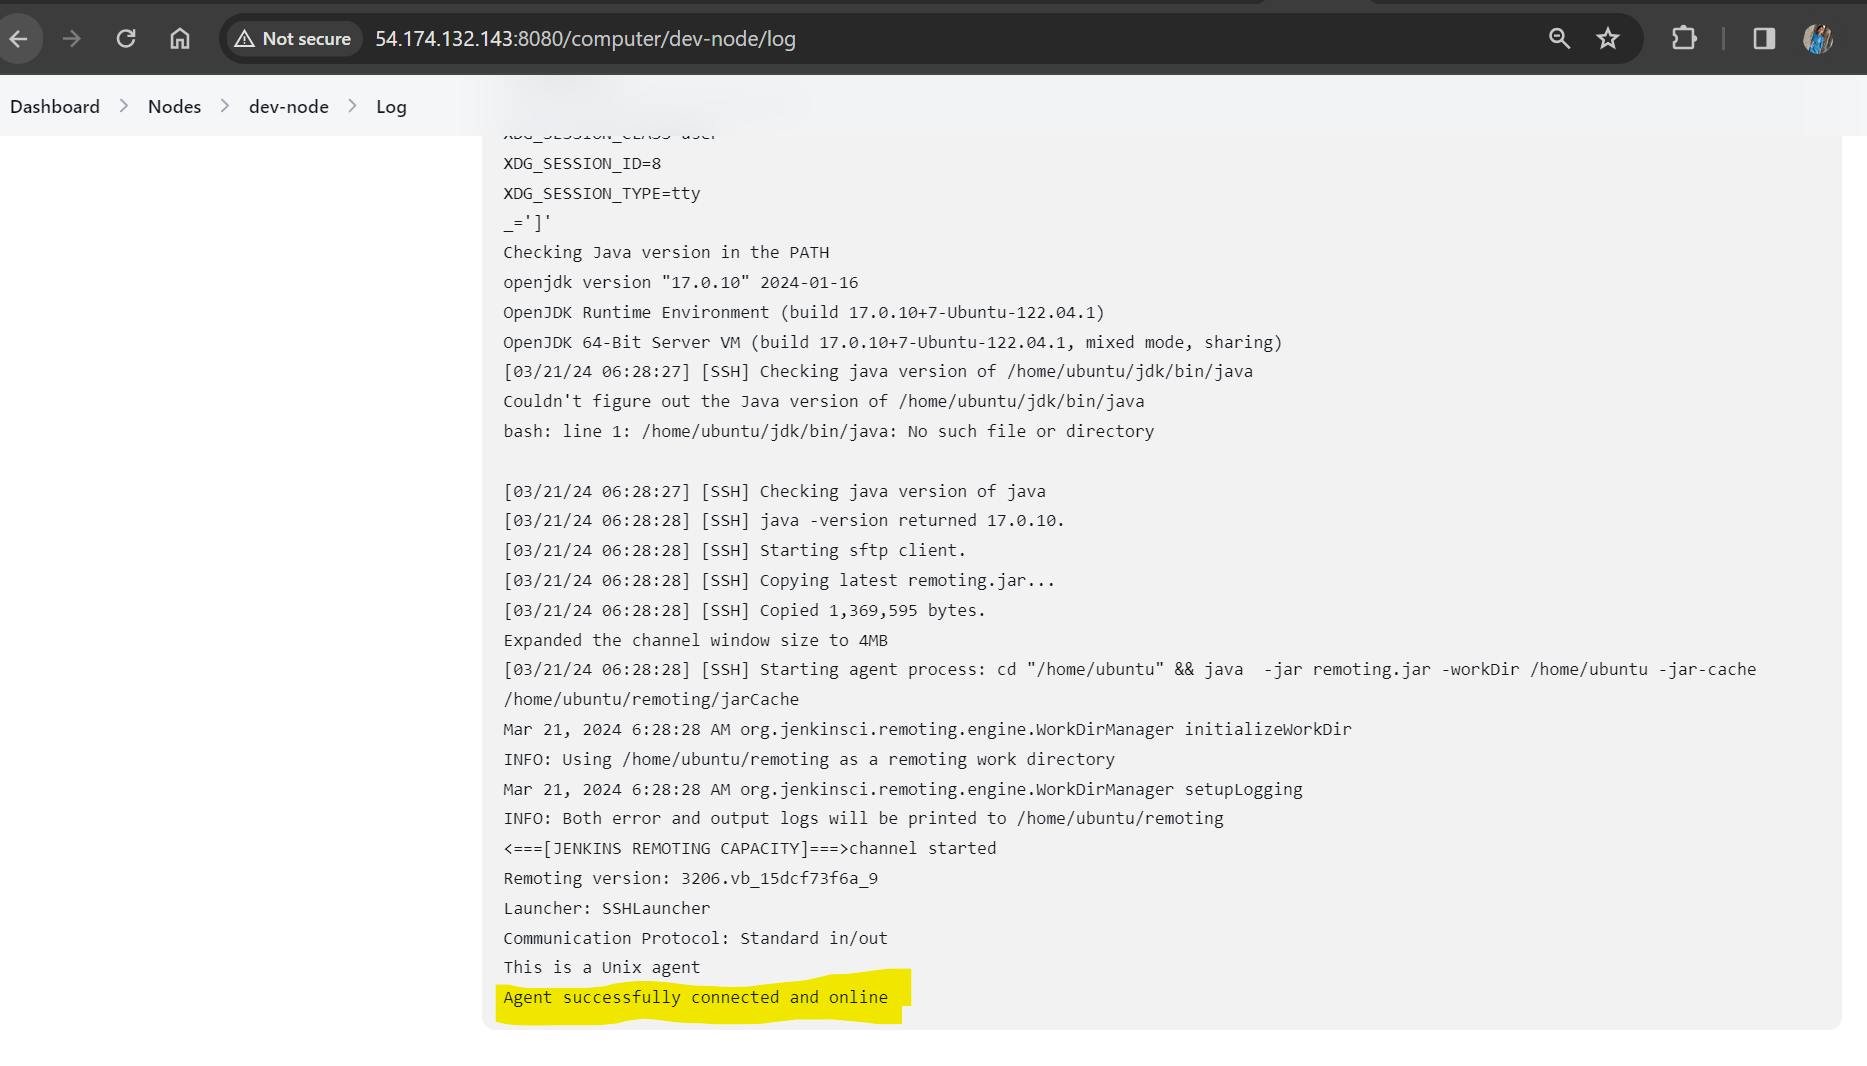
10. We see that the Launch of node failed due to Java not found in Agent. Agent requires Java to understand the instructions from Jenkins. Hence, let's install Java on Agent machine and try to relaunch the node

Agent is successfully launched and connected.
Go to dashboard and click on Node to view the agents. The created dev-node is present on the nodes Dashboard as below-

Task-02
Run your previous Jobs (which you built on Day 26, and Day 27) on the new agent.
- Let's start with Day 26 job that is "Hello World" and try running it in our new agent. Go to the Dashboard to view the already created project.

2. Click on "hello-world" and open the Configuration Page.
3. Scroll down to Pipeline Script and edit the agent code by replacing agent any with agent { label 'dev-node' } and save the configuration.

4. Click on "Build Now" from left side bar to build the job.

5. Click on #3 Hyperlink and open Console Output as below-

6. As seen above, the job is running on dev-node and not on Master.
Use labels for the agent, your master server should trigger builds for the agent server.
1. Let's start with Day 27 job that is "Declarative Pipeline". Go to the Dashboard to view the already created project.
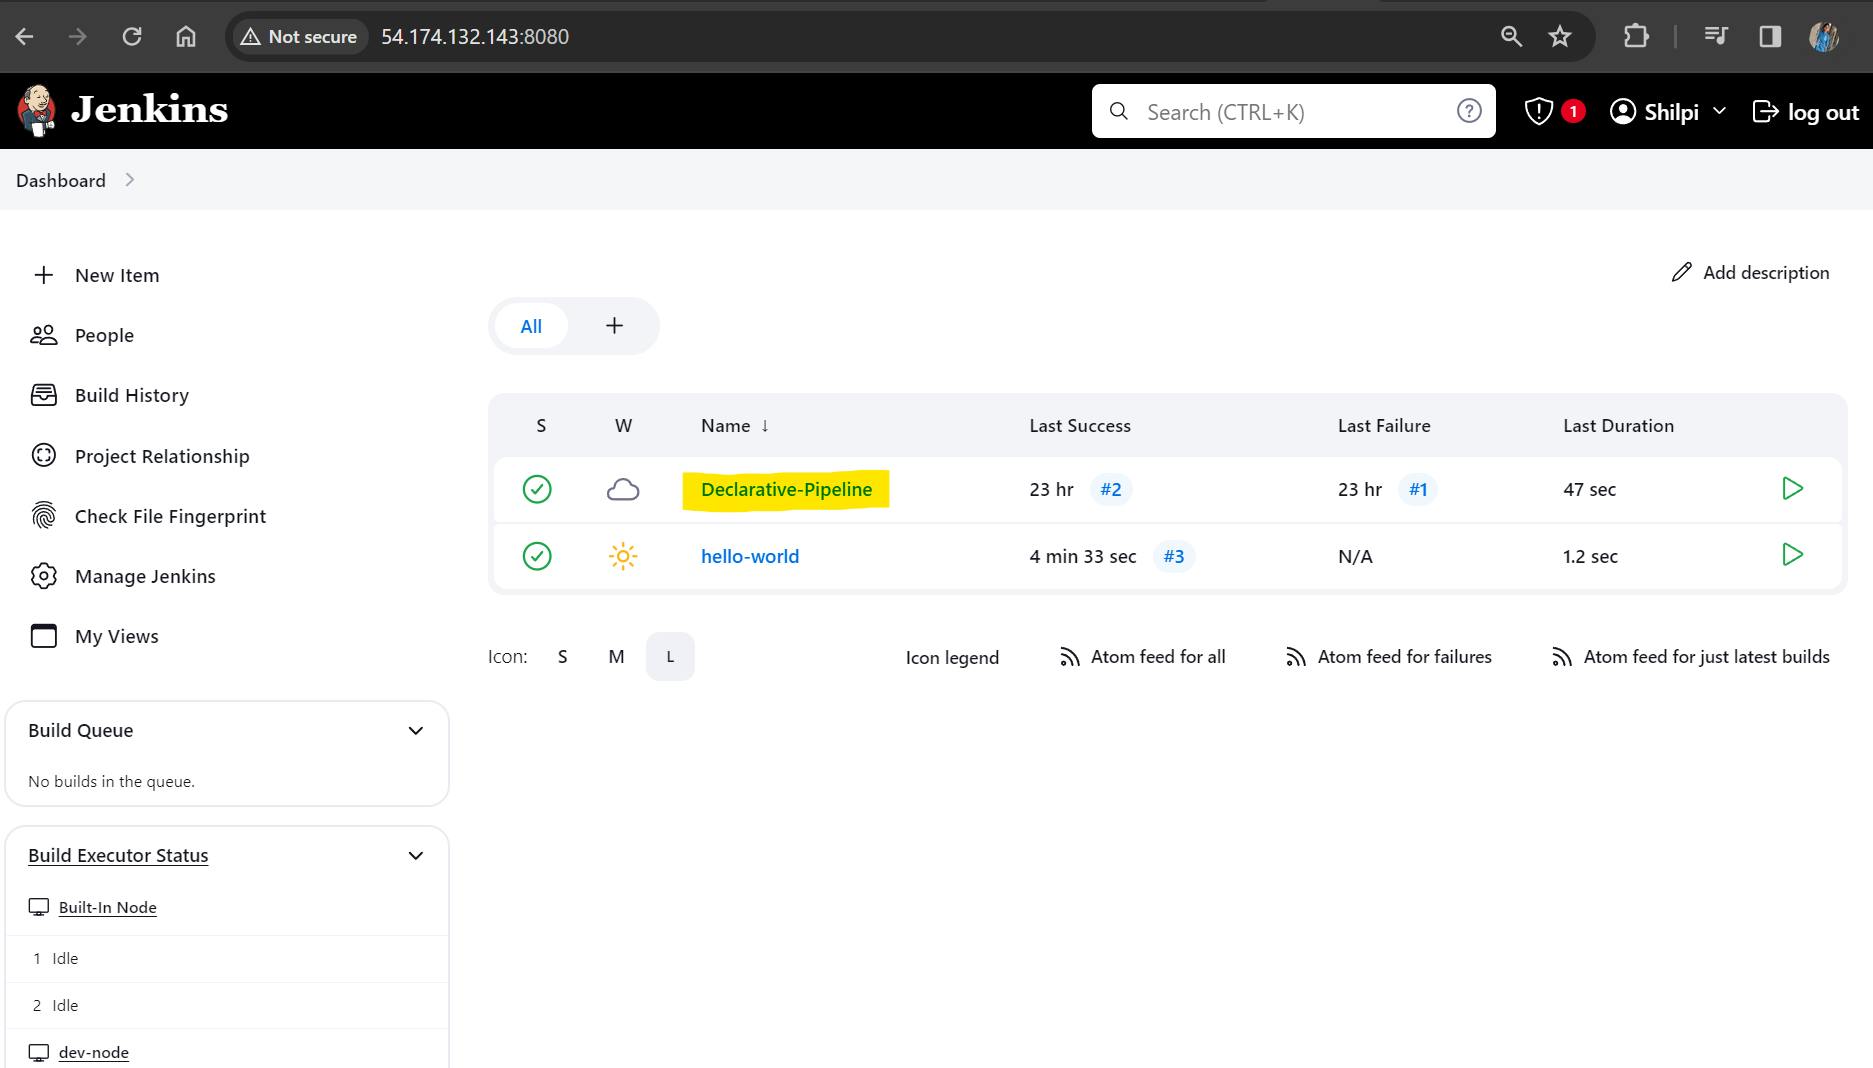
2. Click on "Declarative-Pipeline" and open the Configuration Page.
3. Scroll down to Pipeline Script and edit the agent code by replacing agent any with
agent { label 'dev-node' }and save the configuration.
4. Also, before running the build, ensure docker and docker-compose is installed in Slave agent.
5. Since, the declarative pipeline project is an automated pipeline, hence, let's connect it to the webhook of GitHub, make any change in code and wait for the automatic build to start.

6. The build has automatically started and is successful. View the Console Output by clicking on the #3 hyperlink


7. Go to the Agent machine and navigate to the highlighted path to check whether the code is pulled from GitHub or not.

8. The code is successfully pulled from GitHub and stored in agent machine. Let's open the IP address of agent machine along with the mentioned exposed port to check whether the application is running.
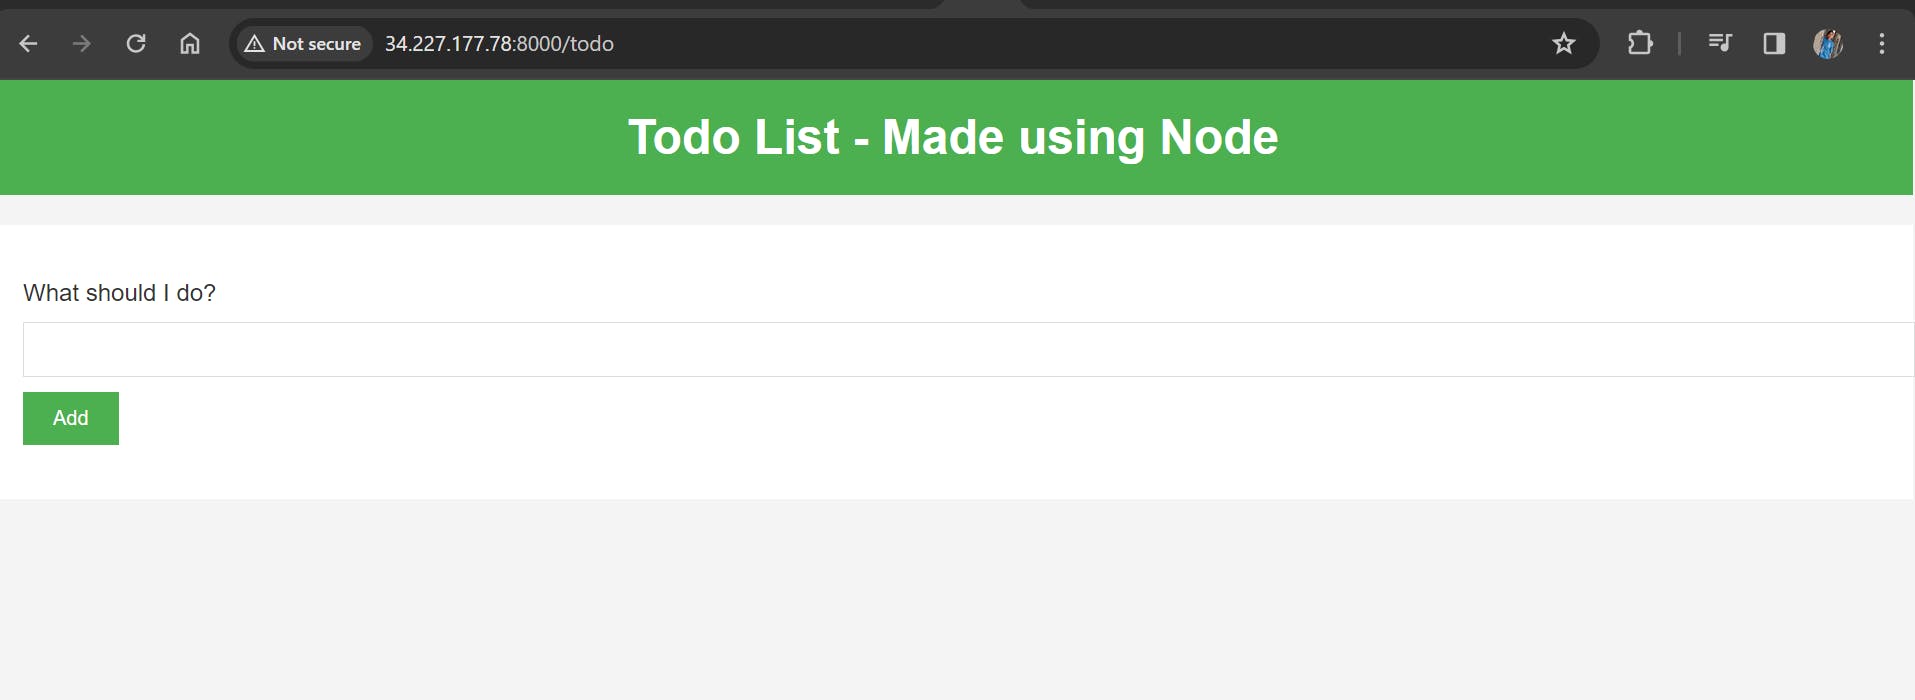
Hurray! The application is up and running on agent machine.
Hope you have understood the step by step process to create an agent and run the project on agent machine.
Thanks for reading!
Happy Learning!