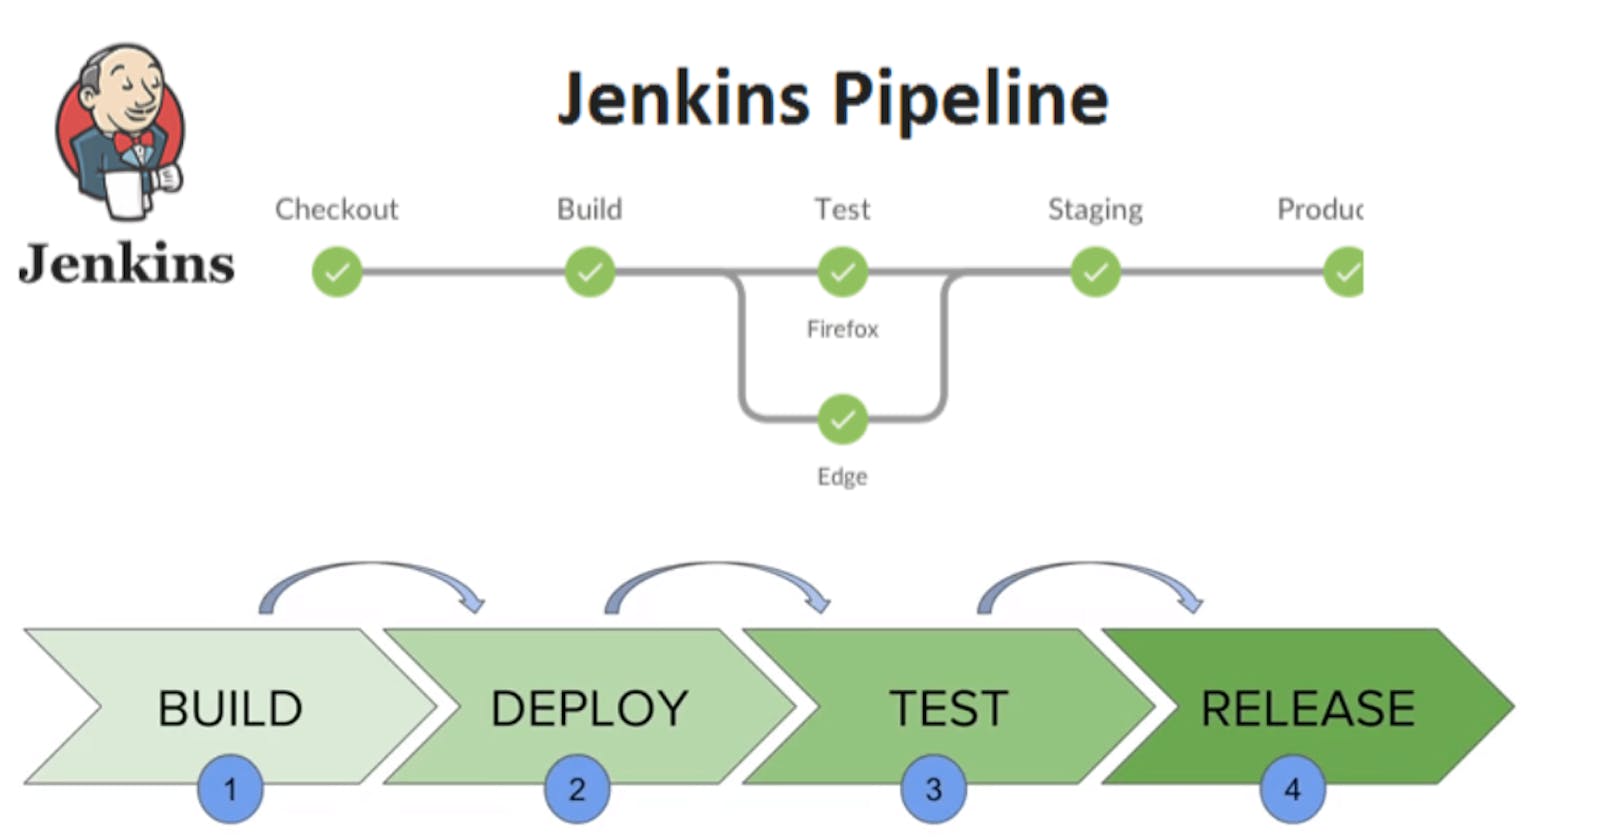
One of the most important parts of DevOps and CICD journey is a Declarative Pipeline Syntax of Jenkins.
Pipeline
Jenkins pipeline is a combination of plugins that support the integration and implementation of continuous delivery pipelines using Jenkins. It is a collection of jobs that brings the code from version control into the hands of the end users by using automation tools.
A Jenkinsfile can be written using two types of syntax — Declarative and Scripted.
Declarative
Declarative Pipeline is a more recent addition to Jenkins and provides a more structured and simpler syntax for defining pipelines and is based on the Groovy programming language. It is robust, clean, and easy to read and write.
Structure of Declarative pipeline -
pipeline {
    agent any
    stages {
        stage('Hello World') {
            steps {
                sh 'echo Hello World'
            }
        }
    }
}
Scripted
Scripted pipelines were the first version of the “pipeline-as-code” principle. They were designed as a DSL(Domain Specific Language) build with Groovy and provide an outstanding level of power and flexibility. It allows developers to implement complicated business logic inside pipeline code.
node {
    stage('Hello world') {
        sh 'echo Hello World'
    }
}
Why Jenkins Pipeline?
The definition of a Jenkins Pipeline is written into a text file (called a Jenkinsfile) which in turn can be committed to a project’s source control repository. This is the foundation of "Pipeline-as-code"; treating the CD pipeline as a part of the application to be versioned and reviewed like any other code.
Pipelines offer several benefits. You can:
Fast-track the delivery of code to production
Automate build generation for pull requests, ensuring no syntax errors are merged to the main branch/repository.
Reduce the need for manual maintenance, testing, and deployment, allowing your developers and DevOps engineers to focus on more productive tasks.
Pipeline Syntax
pipeline {
    agent any
    stages {
        stage('Build') {
            steps {
                //
            }
        }
        stage('Test') {
            steps {
                //
            }
        }
        stage('Deploy') {
            steps {
                //
            }
        }
    }
}
Task
Create a New Job, this time select Pipeline instead of Freestyle Project.
1. Login to Jenkins and click on "New Item" from the Dashboard Page

2. Specify the name for your new Pipeline project in "Enter an item name" field.
3. Scroll down, select pipeline and click OK.
Follow the Official Jenkins Hello world example
Complete the example using the Declarative pipeline.
1. Login to Jenkins and click on Create an Item.
2. Specify the Project name in "Enter an item name" field, select Pipeline and click OK

3. Configuration page opens up. Enter the description of the project and scroll down. Make sure Definition is selected as Pipeline Script under Pipeline section, if not select Pipeline Script from the Definition dropdown.
4. Enter the below code in the Pipeline Script.
pipeline {
    agent any

    stages {
        stage('Hello') {
            steps {
                echo 'Hello World'
            }
        }
    }
}
agent instructs Jenkins to allocate an executor.
echo writes simple string in the console output.
stage defines the actual code required step by step.

Click Save to open the Pipeline project/item view page.
Click "Build Now" from left side bar to run the pipeline.
We can see below the running pipeline with stage "Hello" as we have defined only one stage

Click #1 under Build History to access the details

Click Console Output to see the full output from the Pipeline run.

We have successfully created a "Hello World" Jenkins declarative Pipeline.
Thanks for reading!
~Happy Learing!
